The latest Android development bundle is different than what was used when recording the videos. It is primarily the same, but there are some slight differences when first starting and creating a new project. The screenshots below highlight the differences and should help you get your project started.
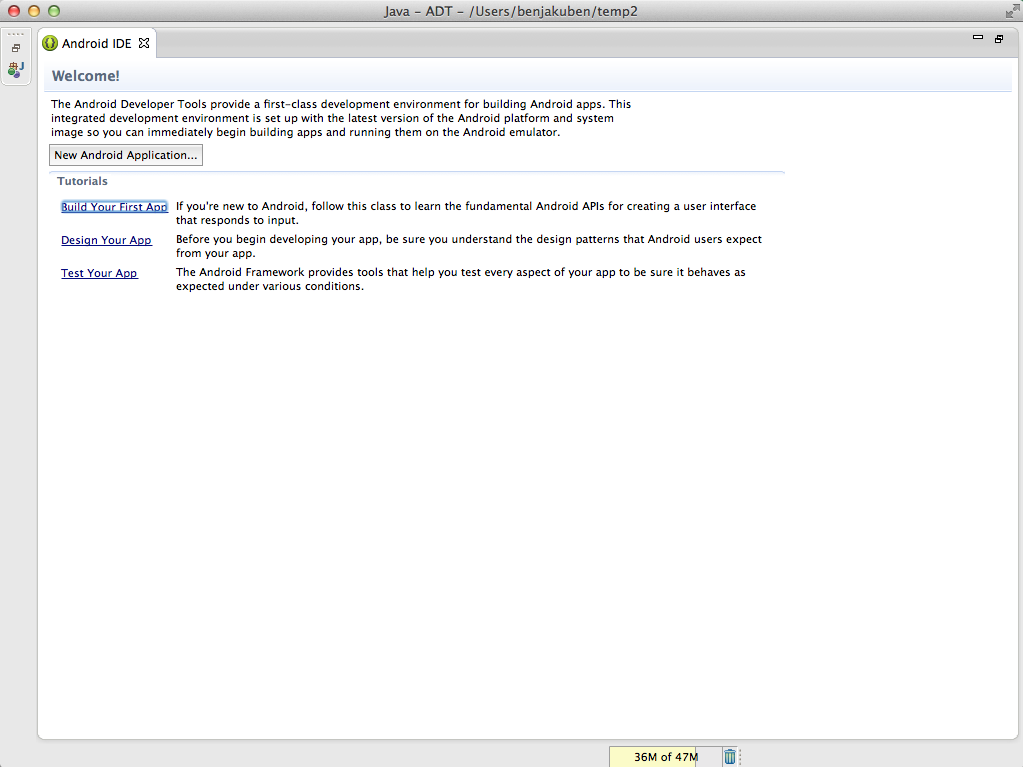
This is the first screen you'll see. From here, click on "New Android Application."
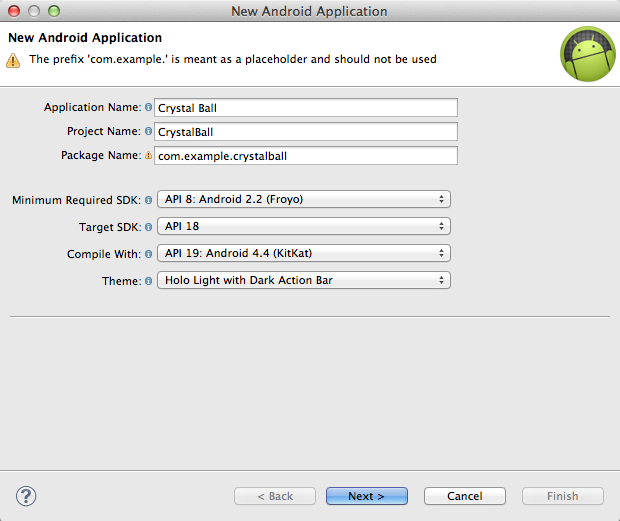
On this screen, leave the fields not talked about in the video as the defaults. Your SDK versions may be slightly different, but that's okay.
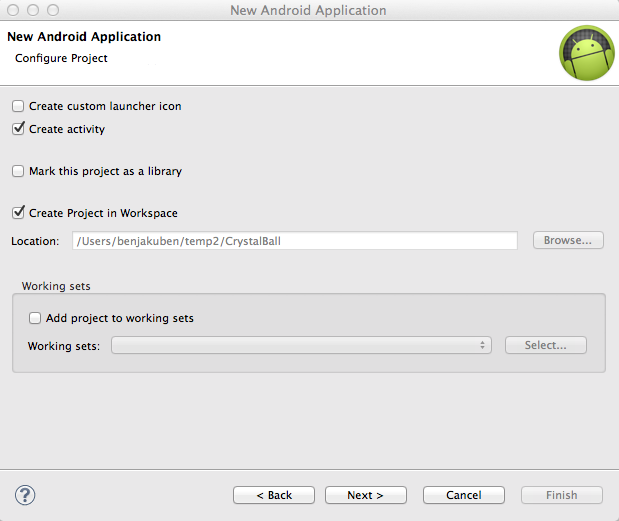
On this next screen you simply want to uncheck "Create custom launcher icon" and click Next.
This screen should be almost identical.
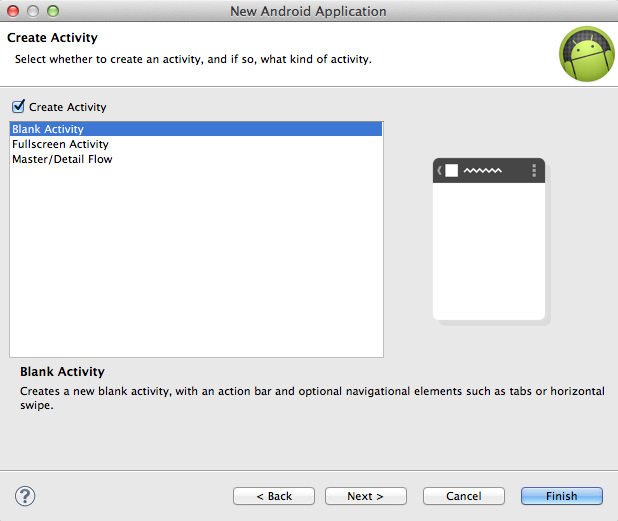
Leave the default settings for this screen and click Finish.

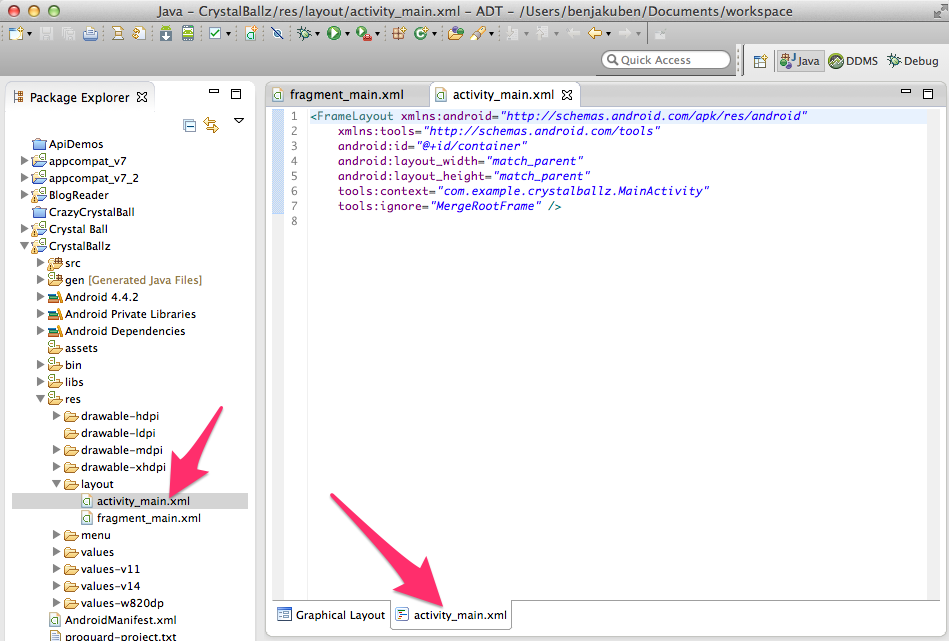
Now the project should be open in Eclipse. If the file activity_main.xml is open like below, then you are finished and can skip the rest of these steps.

If you are using the latest version of the bundle, then the project structure has changed and you'll need to make a few more changes to match the videos perfectly until we refresh the videos. The new version starts on a new file called fragment_main.xml:
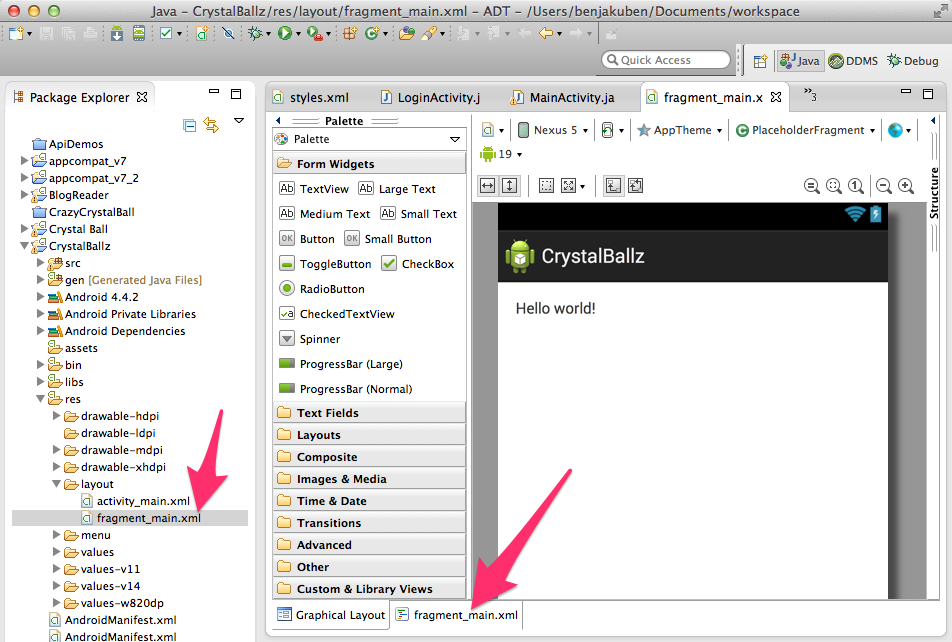
Switch to the XML tab and copy all the XML code:

Open activity_main.xml. Switch to the XML tab, delete everything, and then paste in the code you just copied from fragment_main.xml.

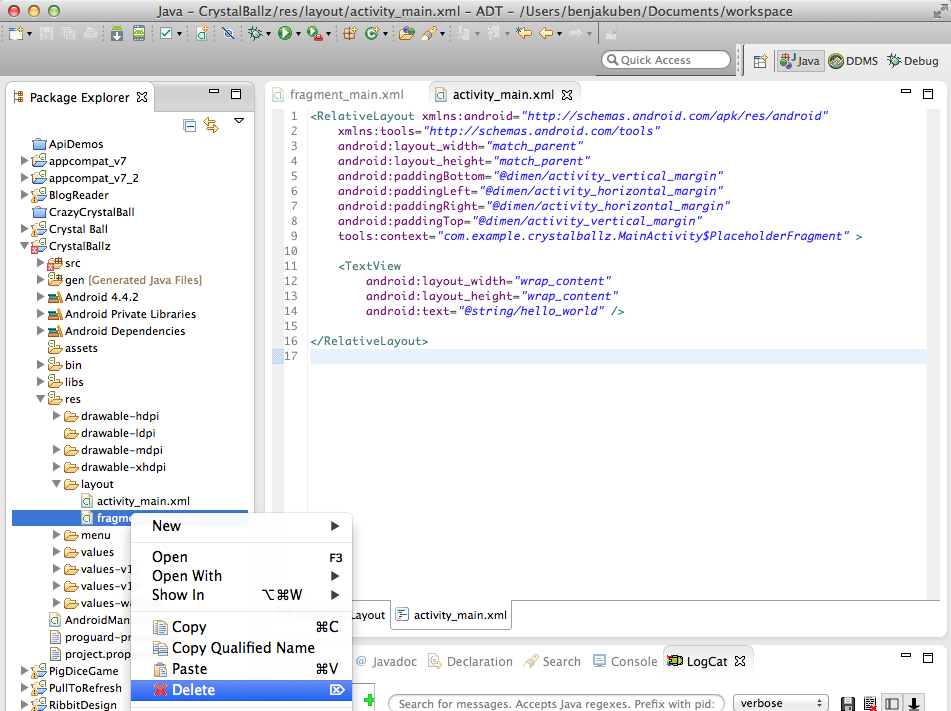
Right-click on fragment_main.xml and select Delete from the pop-up menu to delete it.
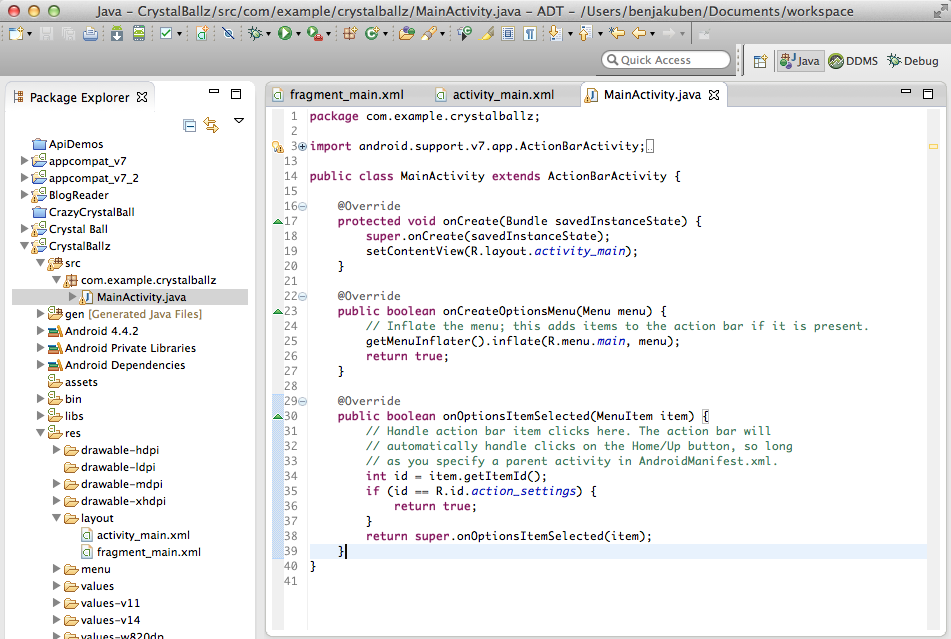
Now open up src > com.example.crystallball > MainActivity.java.
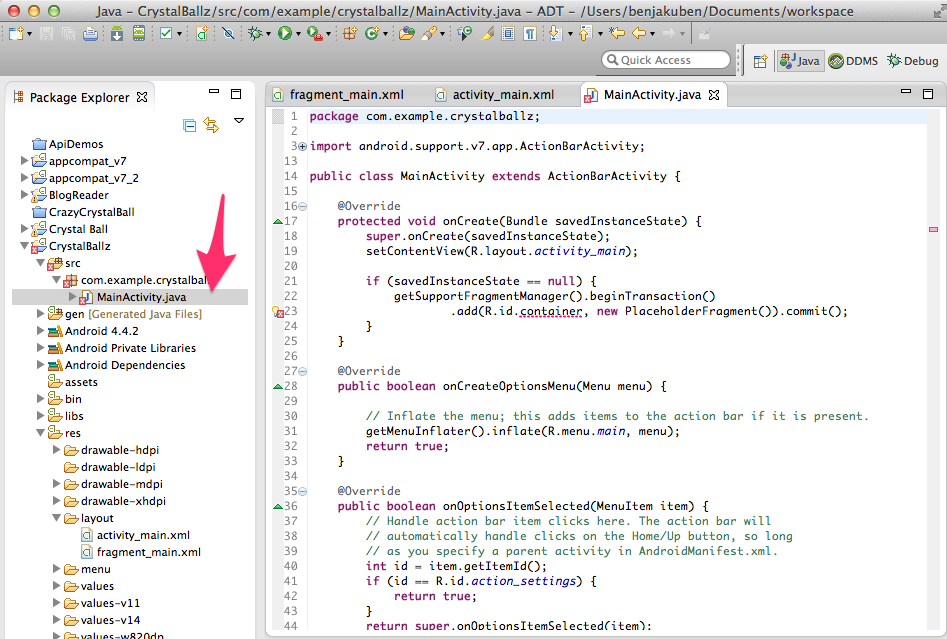
Select lines 21-24 and delete them.

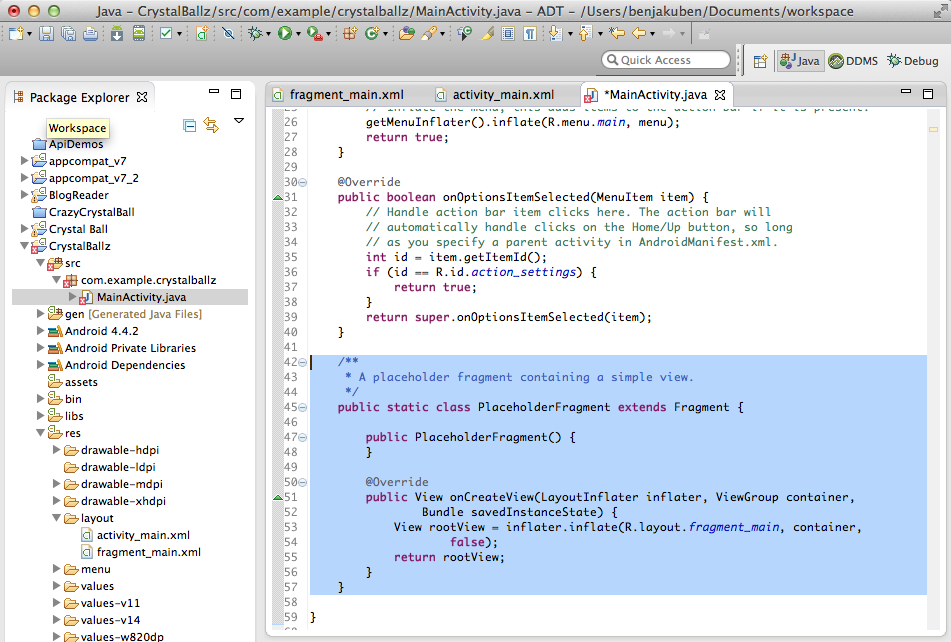
Scroll down, select the entire block of code for PlaceHolderFragment (as shown below) and delete it. Make sure you leave the last curly brace at the end (not selected in the screenshot)!
Select File > Save All from the ADT menu. Your MainActivity.java class should now look like this, and your project is ready to continue with the rest of the videos.